How to add drivers to Windows 7/8/10 disc image (ISO file)
Summary:
This article tells you how to add drivers to Windows 7, Windows 8 and Windows 10 disc image (ISO).

If you want to install Windows 7/8/10 on a latest computer or install Windows on Raid server computer, you will find that the Windows installation program cannot detect storage drive. In that case, add storage drivers to the Windows 7/8/10 installation disc is a good way to solve the problem.
Guide to add driver to Windows 7/8/10 disc image
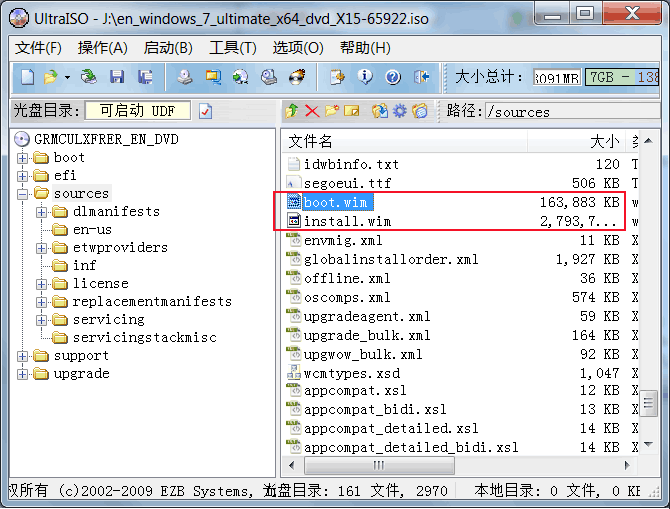
Step 1. Create directory d:\drivers\, and extract boot.wim and install.wim from Windows 7/8/10 installation disc image to it. boot.wim and install.wim located on sources directory of Windows 7/8/10 installation disc image.
UltraISO, 7zip, RAR program can be used to open ISO image, and extract boot.wim and install.wim file, or you can burn the Windows installation disc to USB flash disk with windows usb/dvd download tool.

Step 2.Create directory d:\drivers\mount, run cmd.exe as administrator, and then run command to mount boot.wim file to mout directory: dism /mount-wim /wimfile:d:\drivers\boot.wim /index:2 /mountdir: d:\drivers\mount
Step 3. Add driver to mount files. Here, we take add Intel rapid storage technology driver to Windows image as example, and we assume that we put the driver files on d:\drivers directory.
Run command to add driver: dism /image:mount /add-driver /driver: d:\drivers\iaAHCIC.inf,
and dism /image:mount /add-driver /driver:d:\drivers\iaStorAC.inf
Step 4. Unmount boot.wim. Run command: dism /unmount-wim /mountdir: d:\drivers\mount /commit
Step 5. Replace the old boot.wim on Windows 7/8/10 disc image with the new boot.wim. You can edit the ISO image file with UltraISO.
Do the same to add driver to install.wim image.
You can refer to Guide to add driver to Windows 7 installation iso image for a step by step guide.


